Installing Parrot Security ISO on VirtualBox

Parrot OS, the flagship product of Parrot Security is a GNU/Linux distribution based on Debian and designed with Security and Privacy in mind. Parrot OS aims to give a security focused operating system and was released on 10th April 2013. It includes a full portable laboratory for all kinds of cyber security operations, from pen testing to digital forensics and reverse engineering, but it also includes everything needed to develop your own software or keep your data secure.
After Kali Linux, it is the second most popular Linux distribution for ethical hacking and penetration testing. Parrot OS has many security features including, but not limited to:
- Anonymous browsing – That provides anonymity with a built-in tool Anon surf. This makes the whole communication to pass over TOR, I2P or other anonymizing networks;
- Forensic – Built- in counter forensic tools used as countermeasures to forensic analysis;
- Security Assessment – Supports tools to conduct vulnerability assessment, penetration testing and research new exploits;
- Development – Full development stack with the best editors, languages and technologies available out of the box;
- Privacy – Secure and hardened system ready to securely surf the web and privately communicate with, plus many useful zero-knowledge services;
- Support – A vast community of experts who want to know you and help you in your cyber security journey; and
- Lightweight – The system has proven to be extremely lightweight and run surprisingly fast even on very old hardware or with very limited resources.
Stepwise approach to install Parrot OS
Step 01: Download Parrot OS ISO file
Head over to the Oracle VirtualBox Official Website (https://www.virtualbox.org/wiki/Downloads) and download the newest version of VirtualBox.
Installing VirtualBox on Windows is as easy as installing any other application. Choose the default installation options and you should be fine.
As at the time this post was written, VirtualBox was at version 6.1.x. Yours might be different, but it’s okay.
Step 02: Download Parrot OS ISO file
Now, go to the Parrot OS Security Edition download page (https://parrotsec.org/download/) and download the Parrot security (Mate interface) 32-bit or 64-bit .ISO file.
Please note: We are going to show this in Windows, you can download MAC or Linux installer and follow EXACTLY the same steps to install and run VirtualBox in your machine.
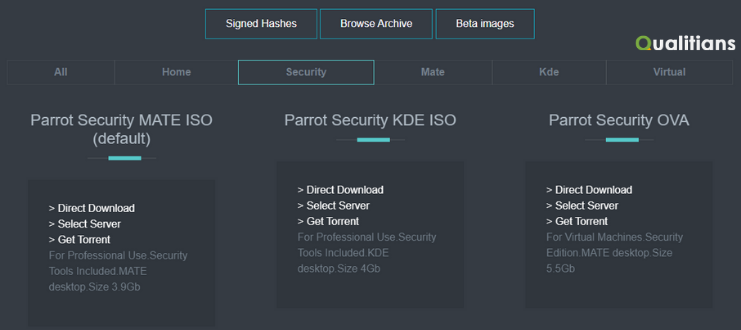
You will find three options, and you can select Parrot Security Mate ISO or Parrot Security KDE ISO and download it for the installation on VirtualBox.
Step 03: Create Parrot OS guest on VirtualBox
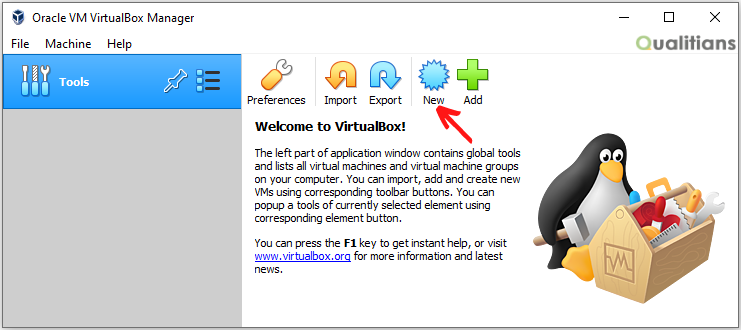
Launch VirtualBox and click “New” under the Tools menu.
Click “Expert Mode” below the pop-up window.
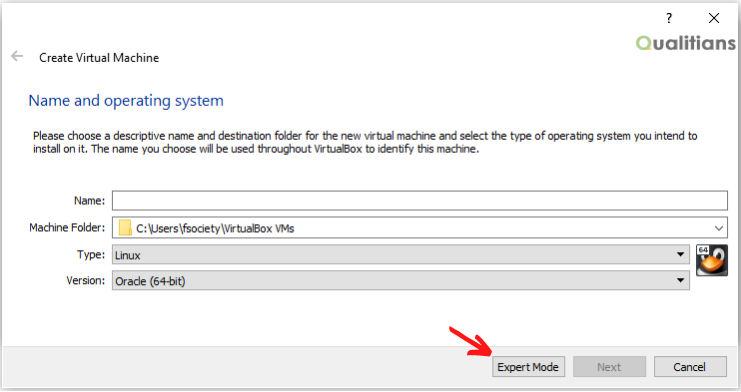
Configure the guest OS with the below details:
- Name: Give the virtual machine any name. We’ll name this one Parrot OS 4.6.
- Machine Folder: simply leave this as it is.
- Type: Linux
- Version: Other Linux (64-bit)
- Memory size: Default memory and recommended size will say 512 even though RAM: minimum 256Mb – 2048Mb is suggested for Parrot Security (64-bit) version. We’ll set this to 2048MB for smooth working.
- Hard disk: Select Create a virtual hard disk now.
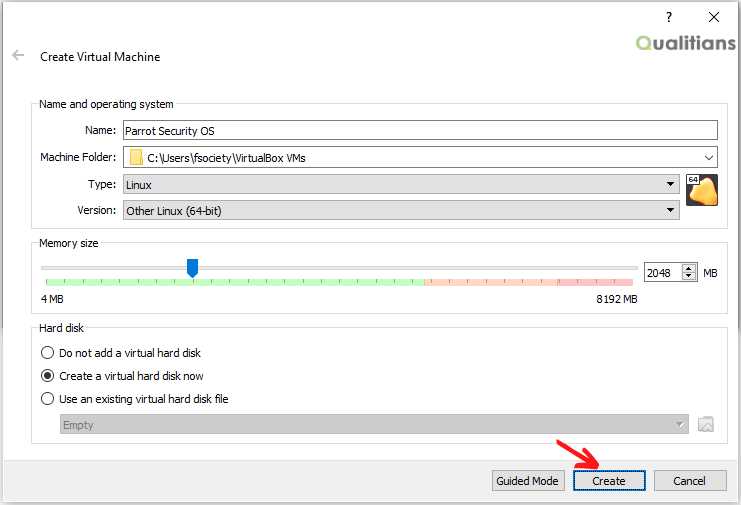
Choose the setting best for your machine and click next, and Click “Create” to continue.
On the next screen, leave File location as it is, adjust File size to at least 15GB, select “VDI (VirtualBox Disk Image)” as your Hard disk file type, and Storage on physical hard disk set to “Dynamically allocated”.
On the “File size” section below, it will come up as 8.00 GB as default size. Choose which fits your needs.
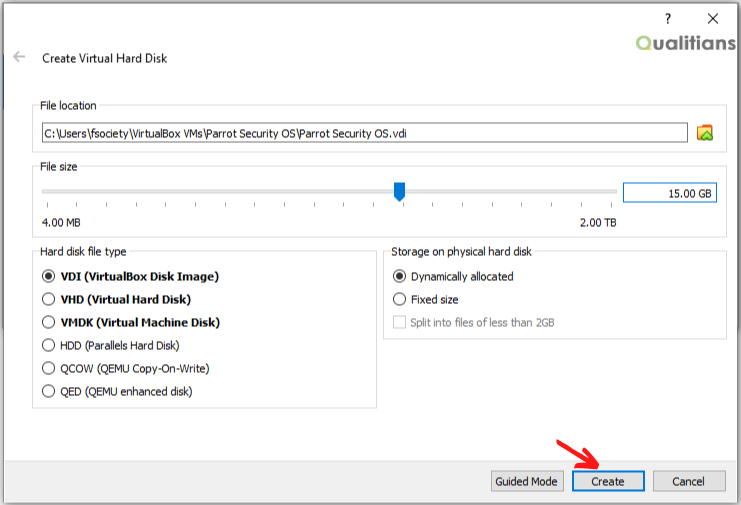
Click “Create” to save.
So far, we’ve done the followings, checklist for you to remind:
- Created a New Virtual Machine
- Created Virtual Hard disk
- Fiddled with disk properties, type and size.
Step 04: Modify VirtualBox settings and Loading Parrot Security ISO
With the newly created guest OS selected, click “Settings“.
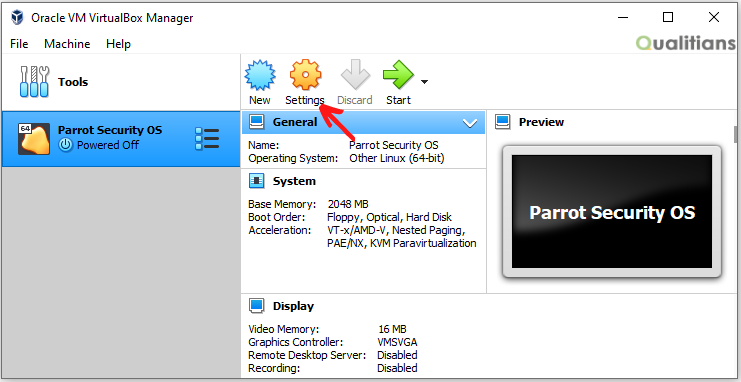
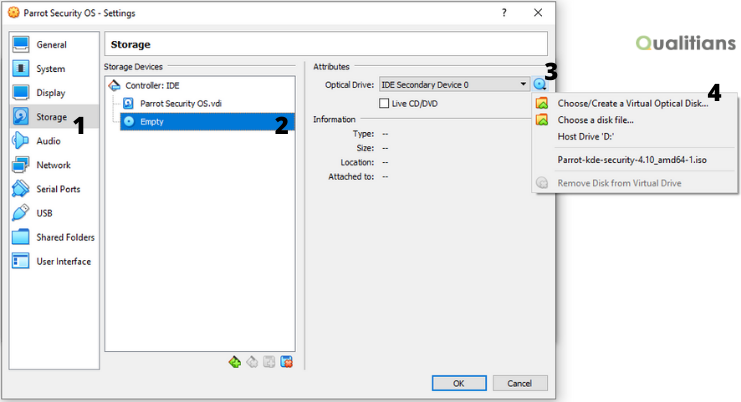
On the pop-up window, click “Storage” > “Empty” and click the disk icon and “Choose Virtual Optical Disc File” as shown in the image below.
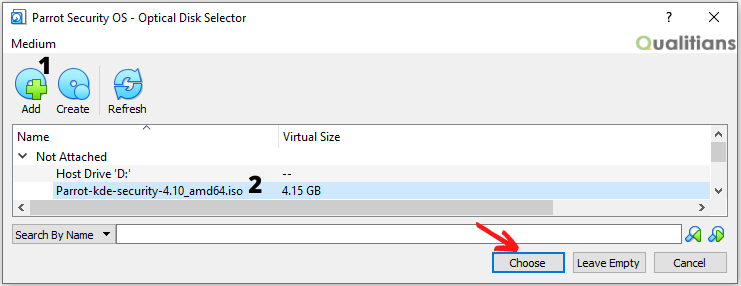
Now, click on Add and locate where your downloaded Parrot OS .ISO file is on your computer and select it.
Click on “Choose” to proceed.
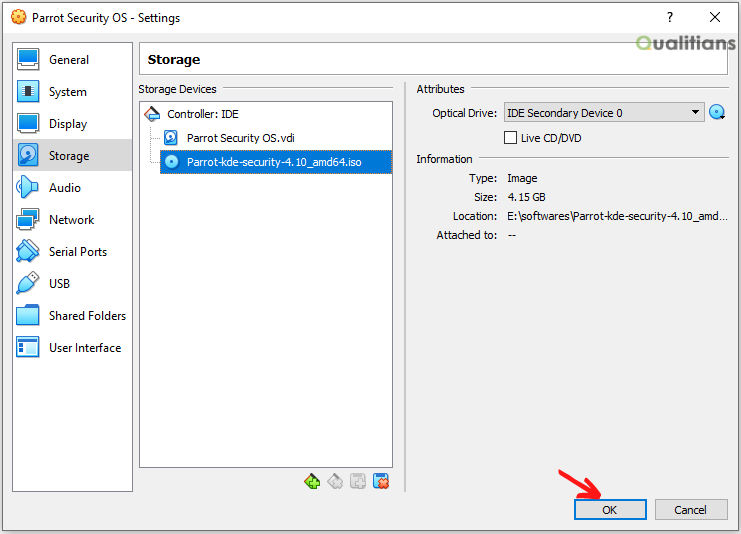
Click on “Ok” to continue.
Step 05: Install Parrot Security OS on VirtualBox
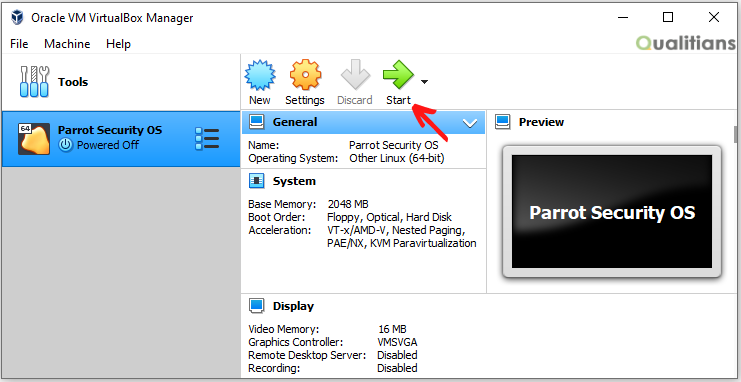
You are now ready to install Parrot OS on your VirtualBox. From VirtualBox Main Screen, click on Start or double click to launch the Parrot OS virtual machine.
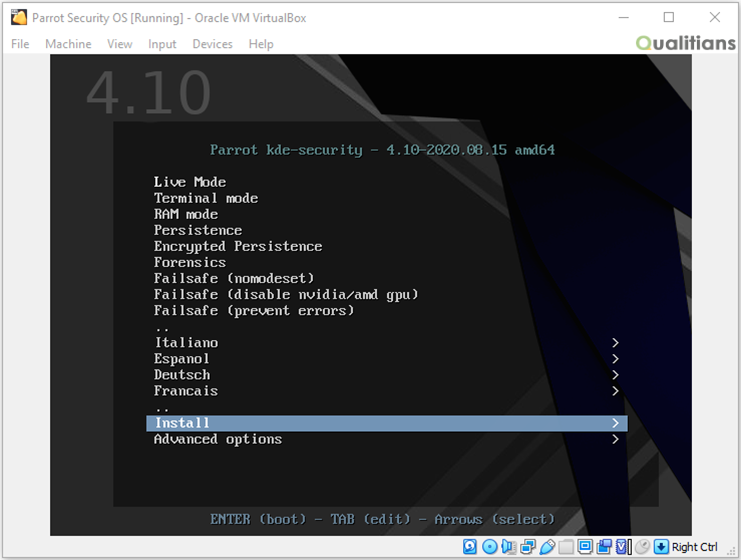
From VirtualBox Main Screen, it will boot Parrot Security, click in the Virtual Machine and arrow down to “Install” hit Enter.
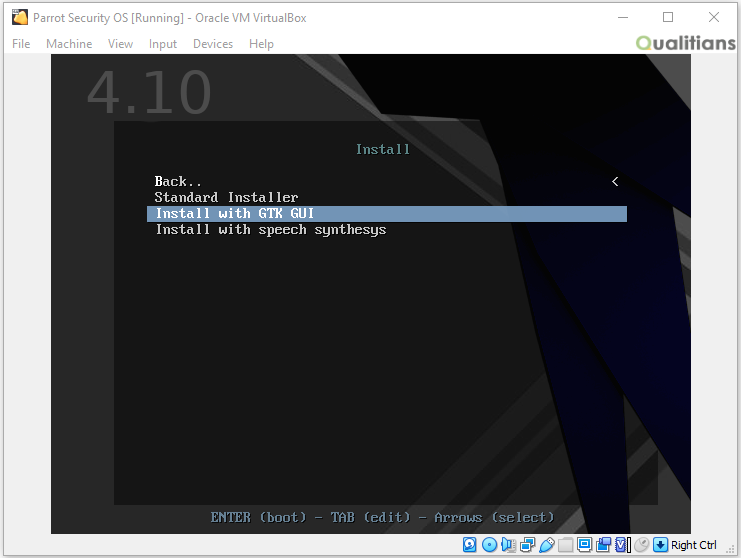
Select “Install with GTK GUI“ and hit Enter.
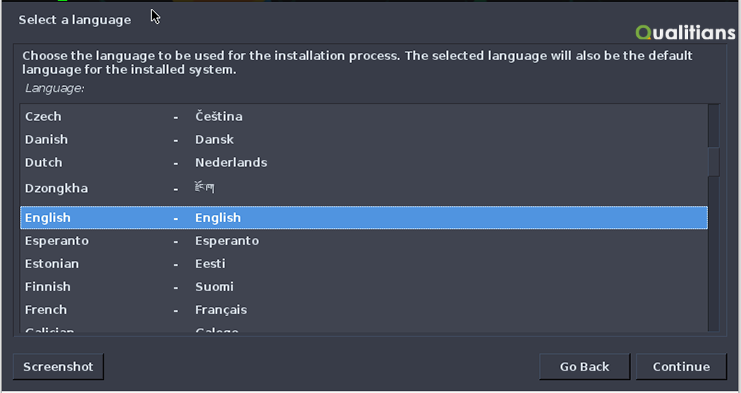
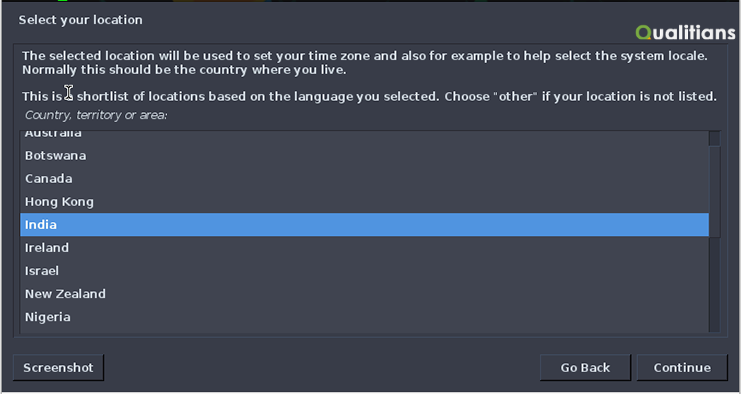
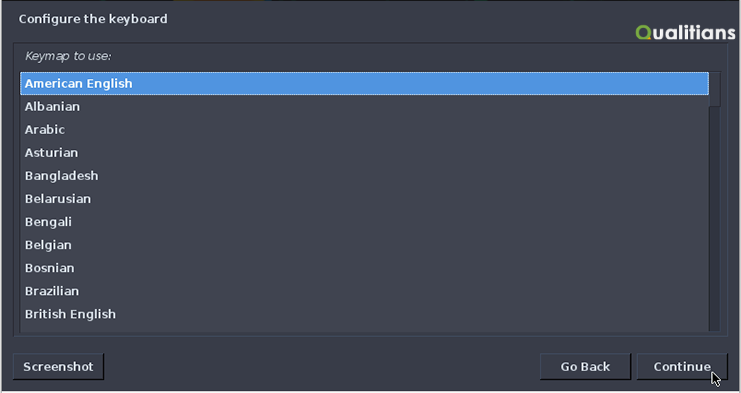
In the next couple of screens it’s just a matter of user preference. System language <> Location <> Keyboard language. We have selected the options based on our preferences. You are welcome to select your choice here.
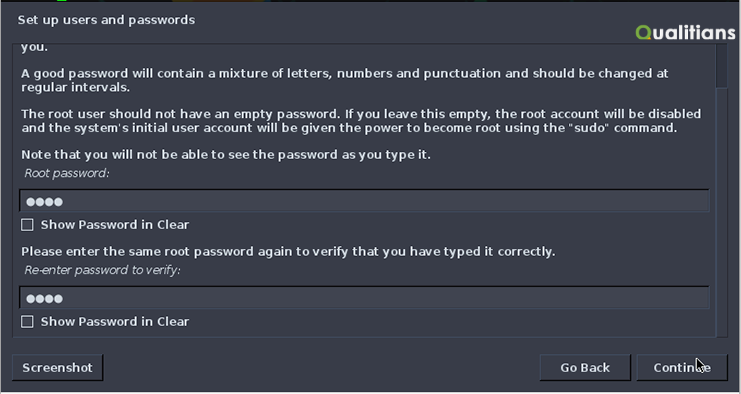
Enter Root password (anything you choose) and click Continue. This password is like the Administrator password on Windows machines, so ensure you don’t forget it.
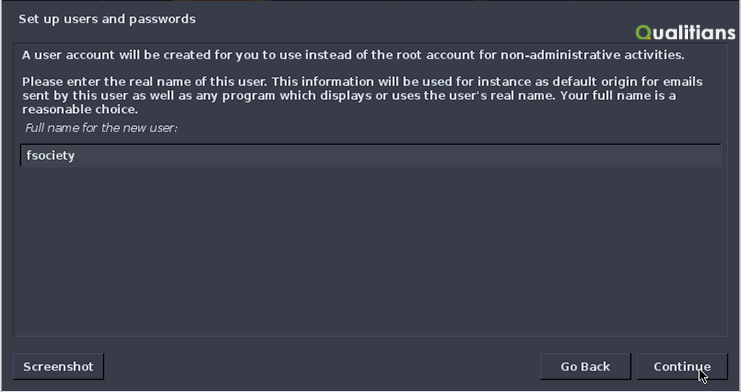
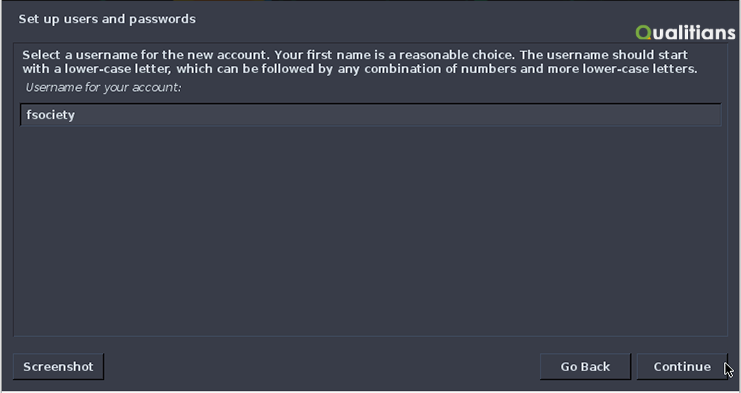
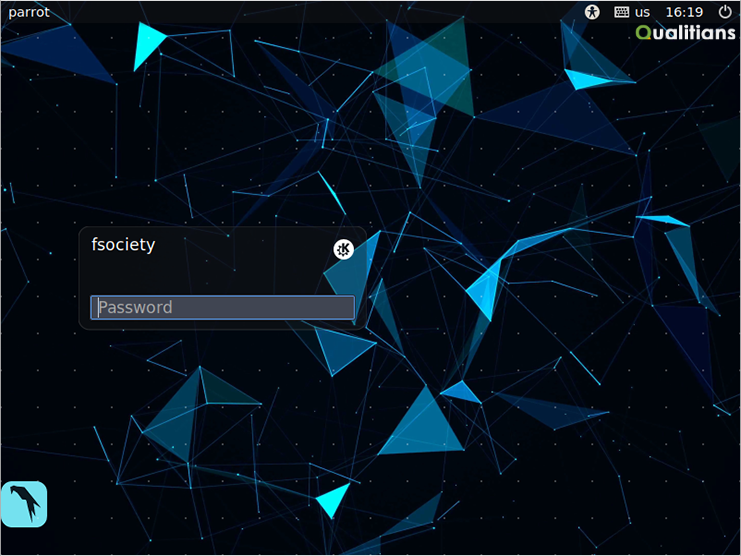
Choose Standard User (Non-Root), Parrot Security requires the distro to be run with a standard user for it’s supreme functionality. You can enter any name here. We’ve put the hostname as “fsociety”, click Continue.
Set the password for your standard user and click Continue.
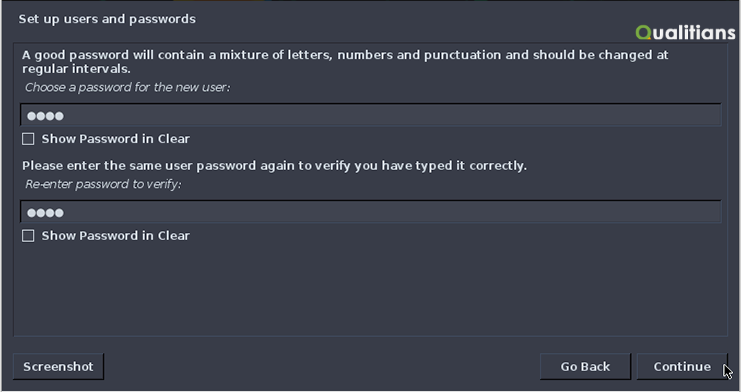
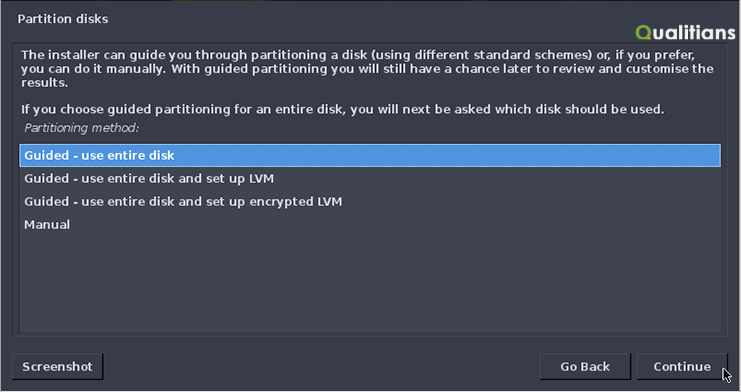
Partition Disks. We could go ahead to partition our virtual hard disk and have a separate partition for /home, /opt, etc. As this is all Virtualized, you can choose anything you want to. We are using the entire disk without partitioning will work well for our purposes, which by the way is recommended for new users. Select “Guided – use entire disk” and Click Continue.
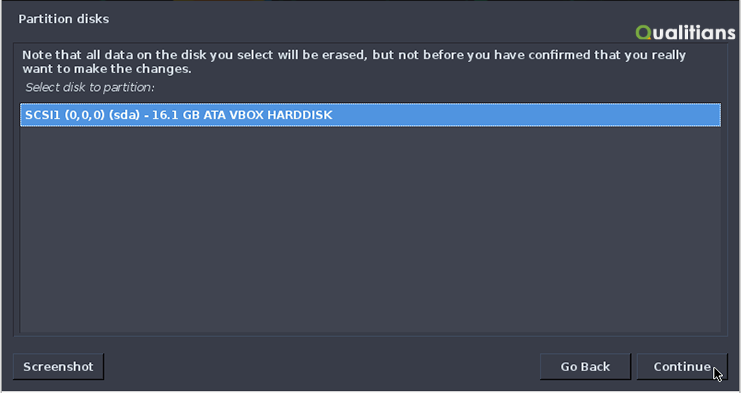
You should have only 1 disk in this screen, highlight it and click Continue.
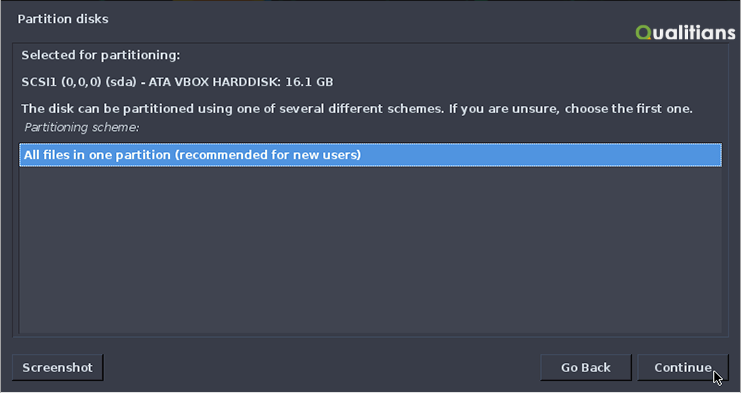
Highlight “All files in one partition” and click Continue.
Highlight “Finish partitioning and write changes to disk” and click Continue.
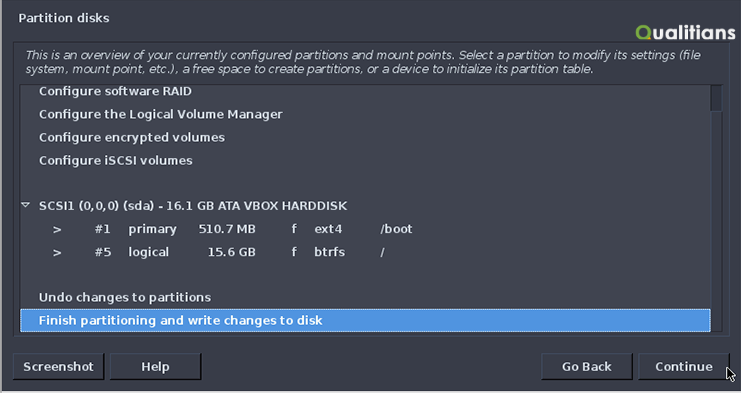
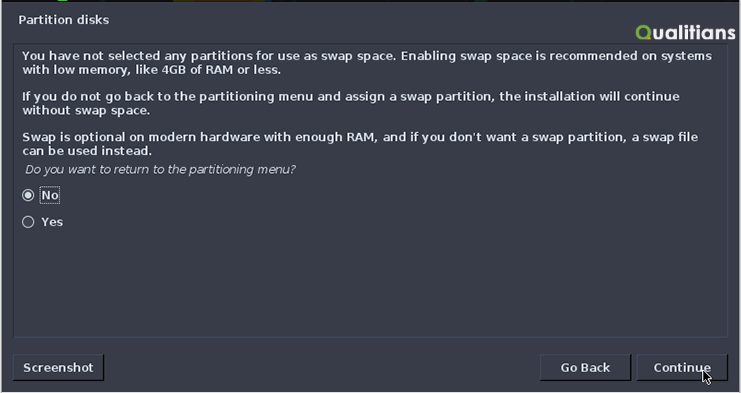
Configure swap space? Say “No” to skip configuring swap space and click Continue. We will not be needing that on our virtual machine.
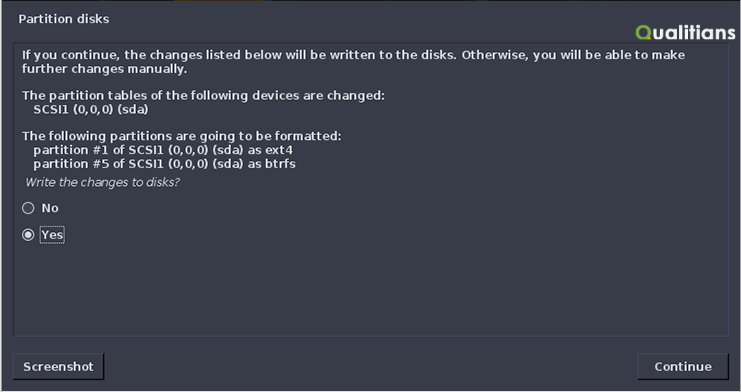
Select “Yes” on this next screen to write all changes to disks and click Continue.
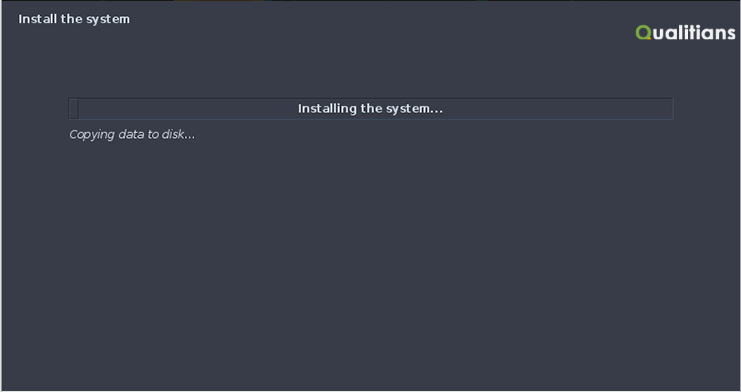
Your installation will start now. On our laptop device which got a 7200 RPM Hard disk, it took about 15 minutes to install.
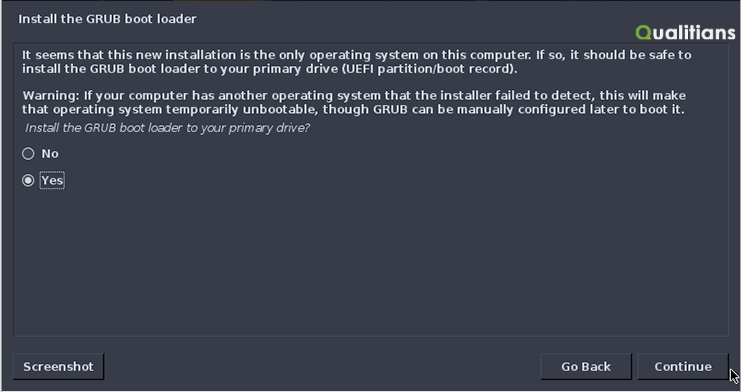
Install GRUB boot loader? Select “Yes” to install the grub boot loader on the next screen. Press Continue when ready.
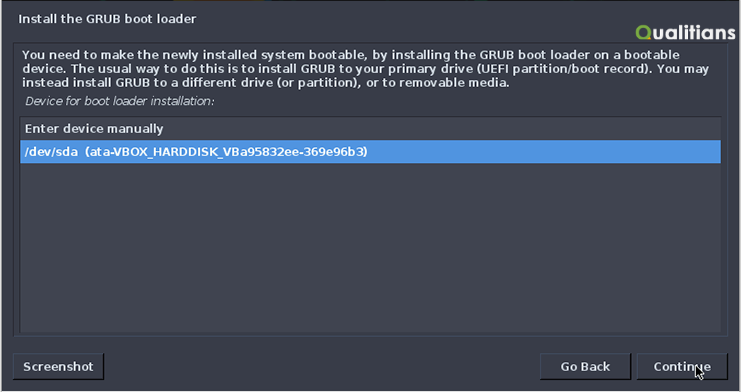
Choose the only hard disk available and click Continue.
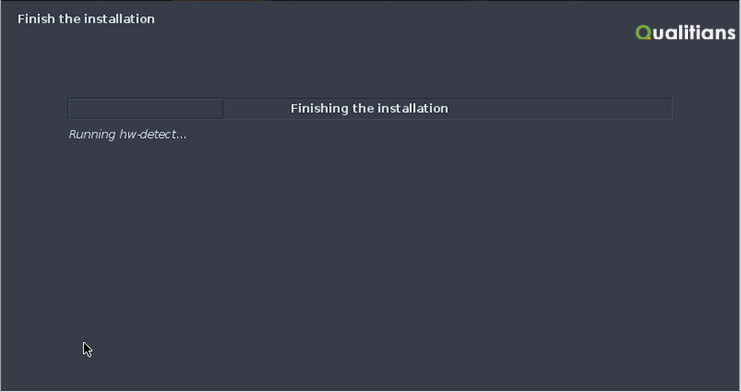
Finishing the installation… This will take a little more time to finish so be patient.
Once the installation has finished, press Continue and the system will finish installing and it will reboot.
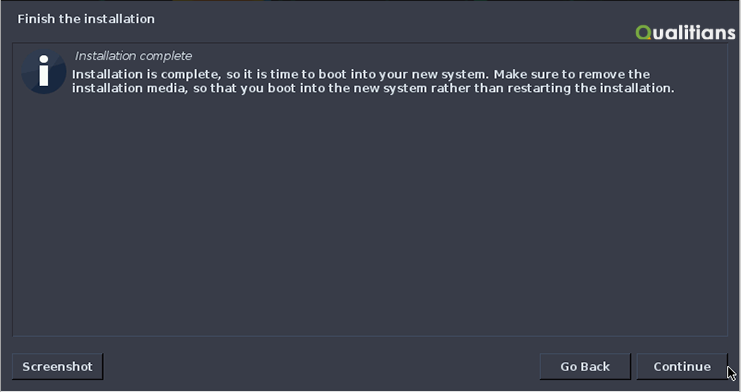
You just installed Parrot Security operating system. Log in using the username and password you set for the Standard User you created during the installation, and Enjoy!
Step 06: Install VirtualBox Guest Additions
By default, it appears that Parrot OS virtual appliance (.OVA or .ISO) doesn’t come with VirtualBox Guest Additions installed. Once you have booted up Parrot OS run the below-given commands to install the VirtualBox Guest Utilities.
To update the system, open a terminal and run the below command:
$ sudo apt-get update
Now, run the below command to install VirtualBox guest additions:
$ sudo apt-get install -y virtualbox-guest-utils virtualbox-guest-x11
Finally, reboot the system:
$ reboot
When the system comes back on you should be able to maximize the VM window and use Parrot in full screen mode.