Introduction to GITHub

In our previous article on version control, we have introduced you with version control and why we use version control.
What is GIT?
GIT is the code hosting tool for version control which allows you to work together in teams from anywhere in the world with no complications at all. This article will teach you all the basics of GIT like Repositories, Branches, Push & Pull Requests, etc. Once you will get familiar with these concepts, it will not take more than 10 minutes to start working on GIT. To start using GIT you all need to have a GITHub.com account and good internet connectivity.
You can use a git hub either by using a desktop application or by command line of GIT. Both these options are very simple enough to use GIT for your projects.
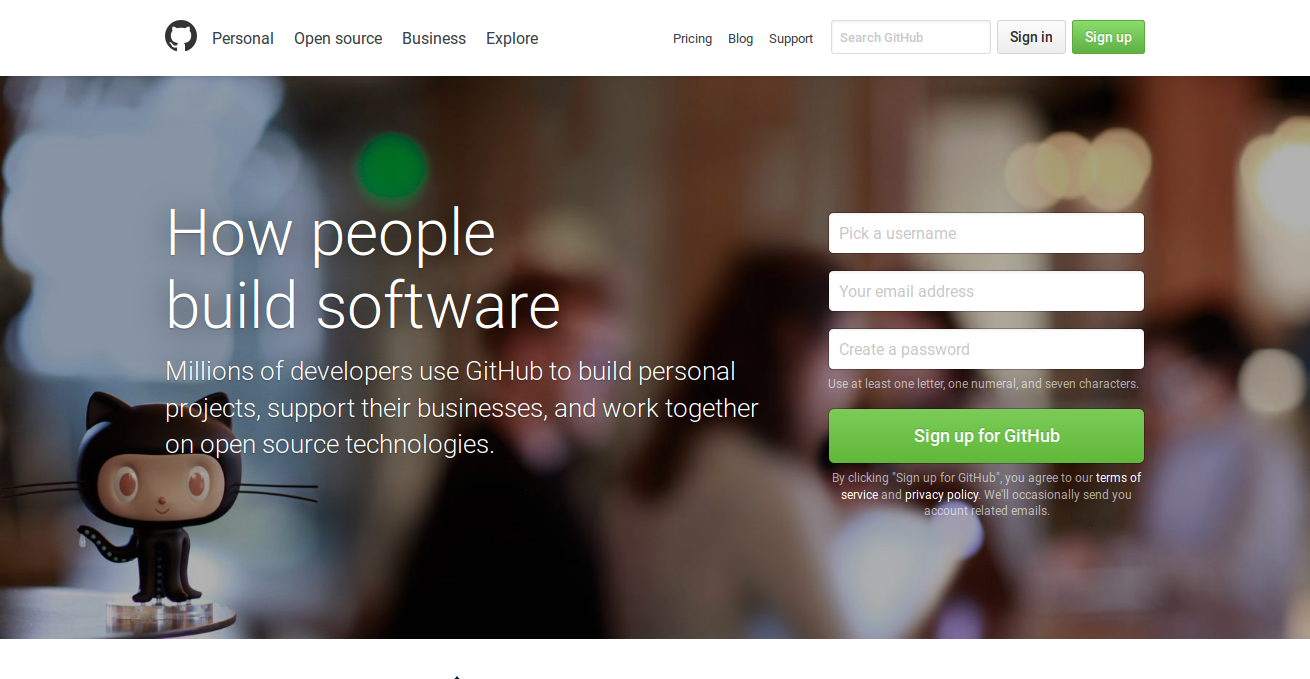
GitHub Home
Terminologies related to GIT
In this article, we are going to use some words which you had never heard before. These are some important terminologies related to GIT which are very important to know about: Command Line, Repository, Version Control, Commit, Branch.
After reading this article on GIT you will learn about the following points:
- How to create a Repository and use it?
- How to create a Branch and manage it?
- How to make changes to a file and push to GitHub as commits?
- How to Open and merge a pull request?
Step 1. Creating a Repository on GitHub
To create a new Repository on GitHub follow the following steps.
- Log in to your GitHub account.
- In the upper right corner, click on + next to your profile icon and then click on New Repository
- Put the name of your repository to “my-first-repository” and write a short description.
- Select Initialise this repository with a README.
- Click on Create Repository
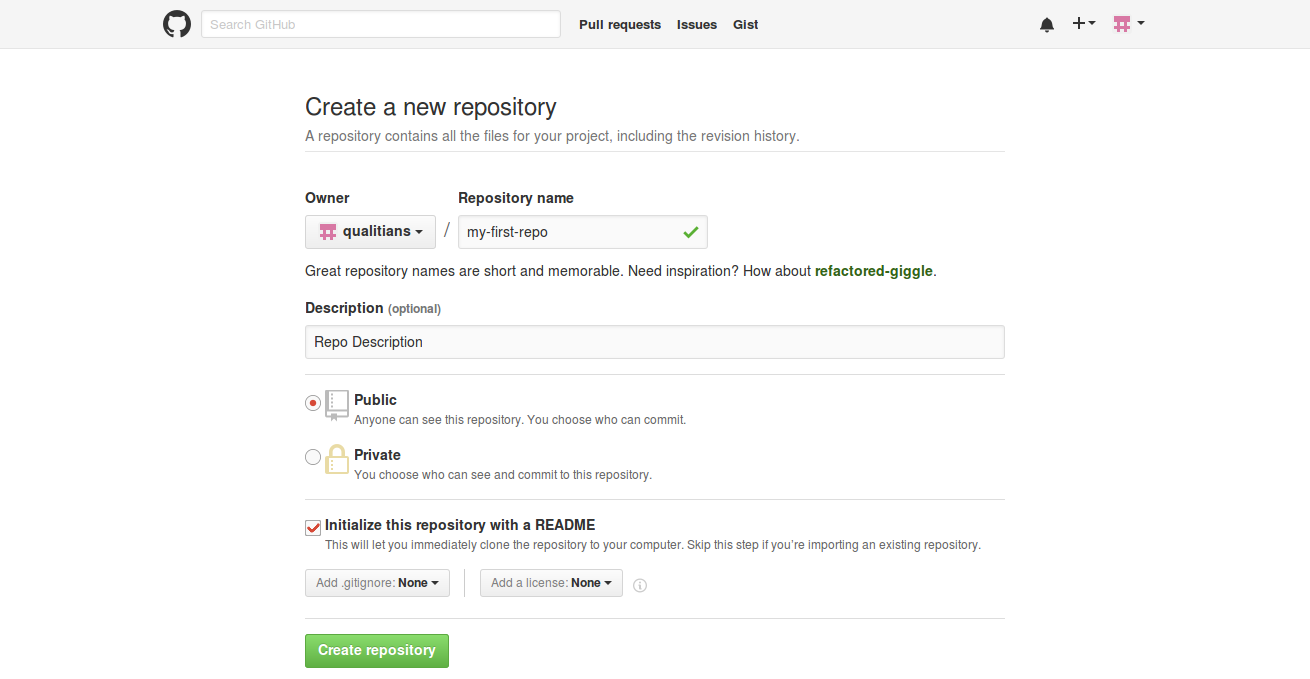
Create Repository
Step 2. Creating a Branch on GitHub
To create a new Branch following the below-mentioned points along with screen-shots.
- Go to your repository for which you want to create a Branch.
- Just above README.md click drop-down that says “branch: master”
- In the new branch text box, type a new branch name.
- Finally hit “Enter” on your keyboard or just select the blue Create branch box.
Now you have 2 branches in your account, master, and my-new-branch.

Create Branch
Step 3. Now it’s time to move to command line console. On Windows, it means starting the Git Bash app which you have installed, and on Linux or Mac OS, it’s regular old Terminal. As we are working on the Linux Operating System so in our case we are using the terminal.
Let’s start to introduce yourself to GIT and for this just type in the below mentioned commands one by one:
git config --global user.name "Type your name here"
git config --global user.email "[email protected]"
While typing your email, make sure that it’s the same email that has used while signing up at the GITHub.com website. That’s the only configuration that you need to have on your system to start using GIT.
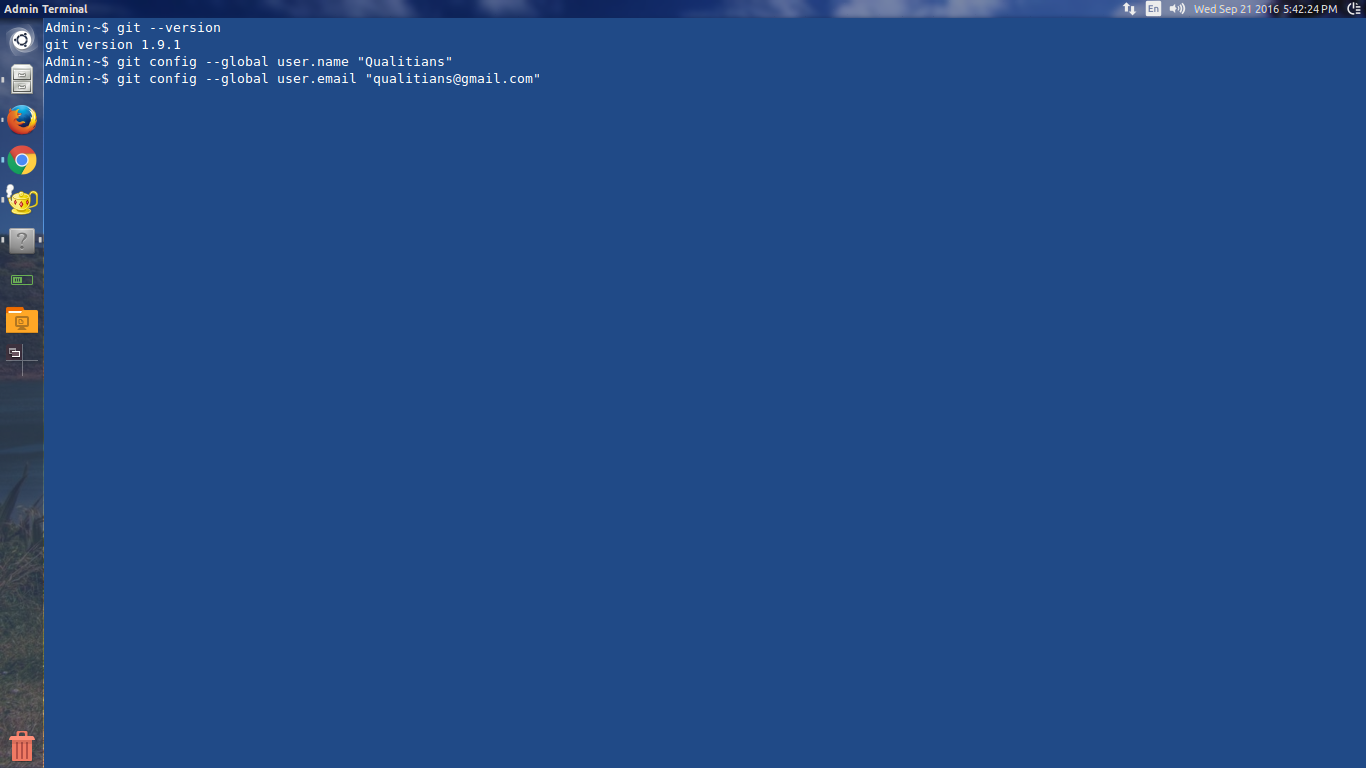
GIT Configuration
Step 4. Creating a Local Repository
Now as you have created a repository and branch over GitHub, so now you need to create a local repository because the bulk of your development work is going to be done on your local machine/computer.
1. Firstly create a directory at “Home” of your computer. For this just type the mentioned commands:
cd ~
mkdir MyNewProject
cd MyNewProject
2. Now you need to tell the computer to recognize this directory as a local GIT Repository. For this type in the command:
git init
this will create the hidden directory inside the MyNewProject.
3. (Optional) If you want Switch to “my-new-branch” branch so that your push will move to a branch first not to the master repository.
git checkout my-new-branch
OR If you want to create a new branch which does not exist on GITHub.com, then type in the command:
git checkout -b new-branch
4. Create a new empty file under MyNewProject by typing a touch(means create) command:
touch readme.txt
Now you have both online and local repositories for your project, but these two need to be connected with each other.
Step 5. As readme.txt is the “untracked file” for GIT, so to make it noticeable for GIT that this file is there, type in:
git status
git add readme.txt
git commit -m "This is my first commit"
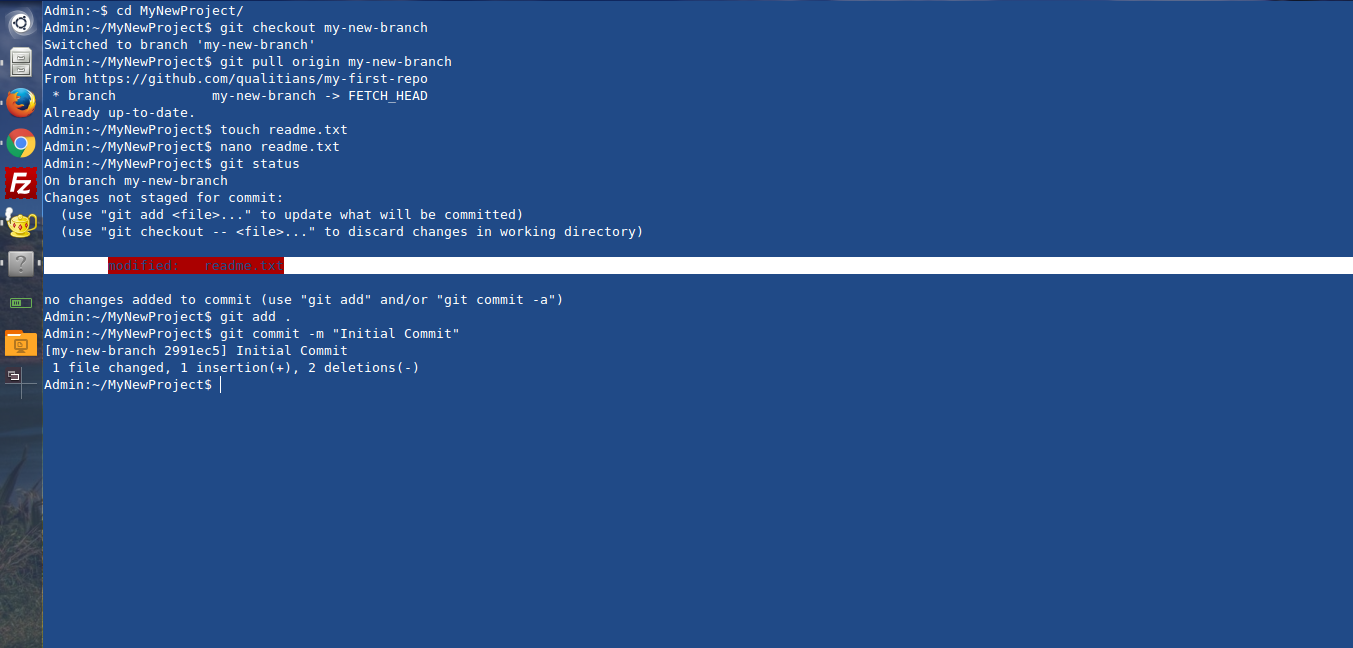
Github Commit Changes
Step 6. Connect your local repository to your GitHub Repository
The connection between your local repo and GitHub repo is a must to update the changes in the local repo to GitHub repository. For the connection type in the below-given command:
git remote add origin https://github.com/USERNAME/GITHub-Repo.git
git remote -v
Step 7. Finally to push the data to GitHub repository i.e. to the branch, type in:
git push origin my-new-branch
OR If you want to push directly in your master branch then type in the following command:
git push origin master
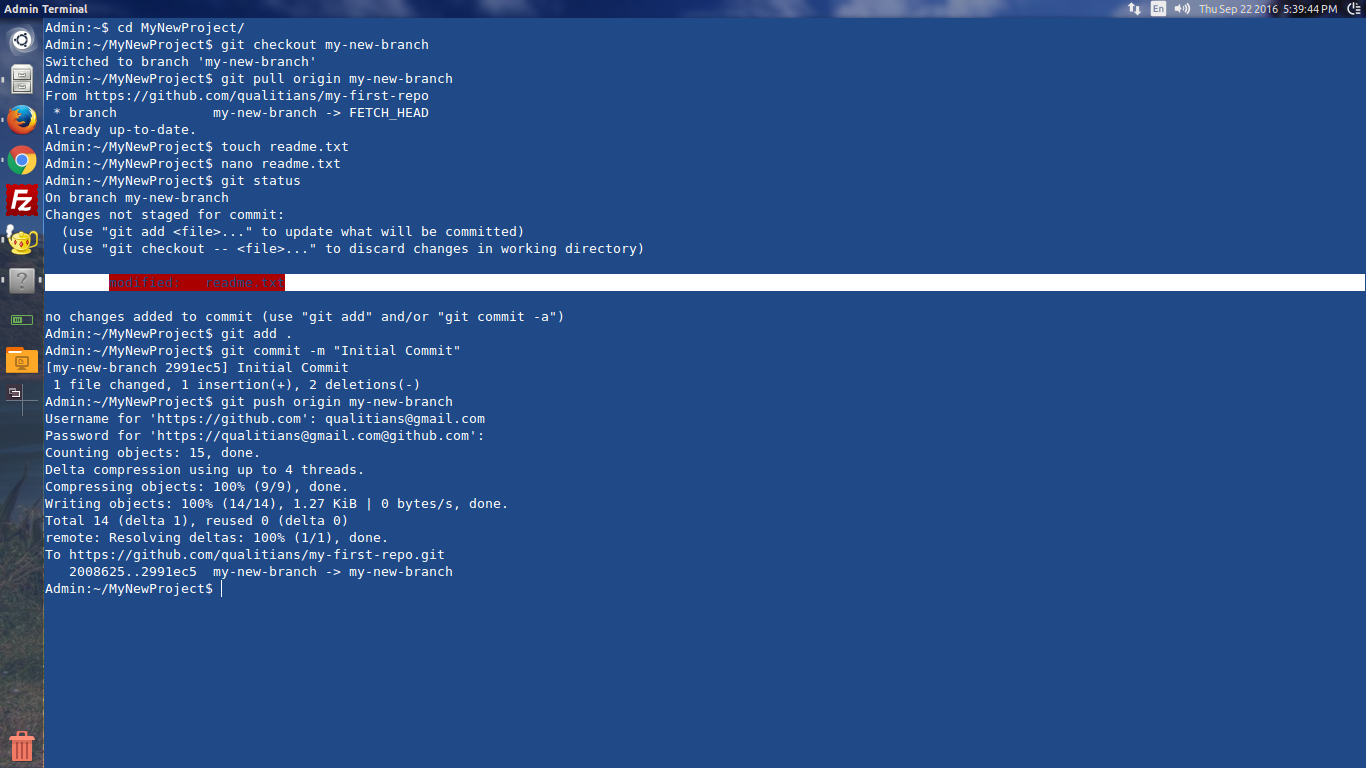
Github Push
Step 8. Go back to your GitHub account and check for the changes after the push command. You will be able to see the new file i.e. readme.txt
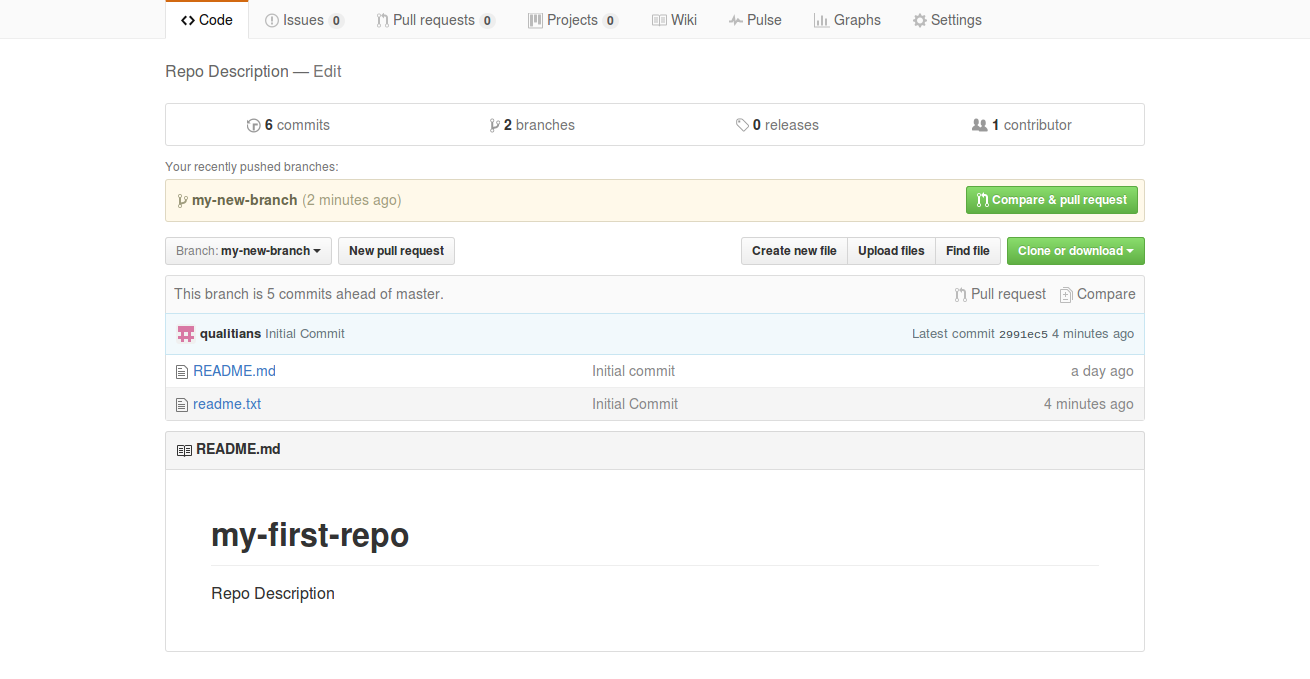
GITHub Live Changes